
We continue our "winter" series of beading. Today we will make a conifer branch with cones.
We will need:
- size 11 seed beads: I used seed beads of yellow-brown and grey colors for cones and light-green color for needles;
- wire 0.3 mm thick;
- brown thread for winding the branches.
At first we will make cones. Each cone consist of overlapping small plates spirally arranged along a central axis. We will make these small plates using French bead looping technique. We have already used such a technique in our tutorials, so we are already familiar with it. The basics of French beading technique you can study from this tutorial (it is used for violet’s leaves).
For each plate take a wire of 20 cm in length and make a small loop on it.

The shorter end of the wire will lie in the middle of the plate and form its axis and the longer end of the wire will form the loops around the axis.
The axis consist of 3 grey seed beads and the each half of the first loop consist of 5 grey seed beads.
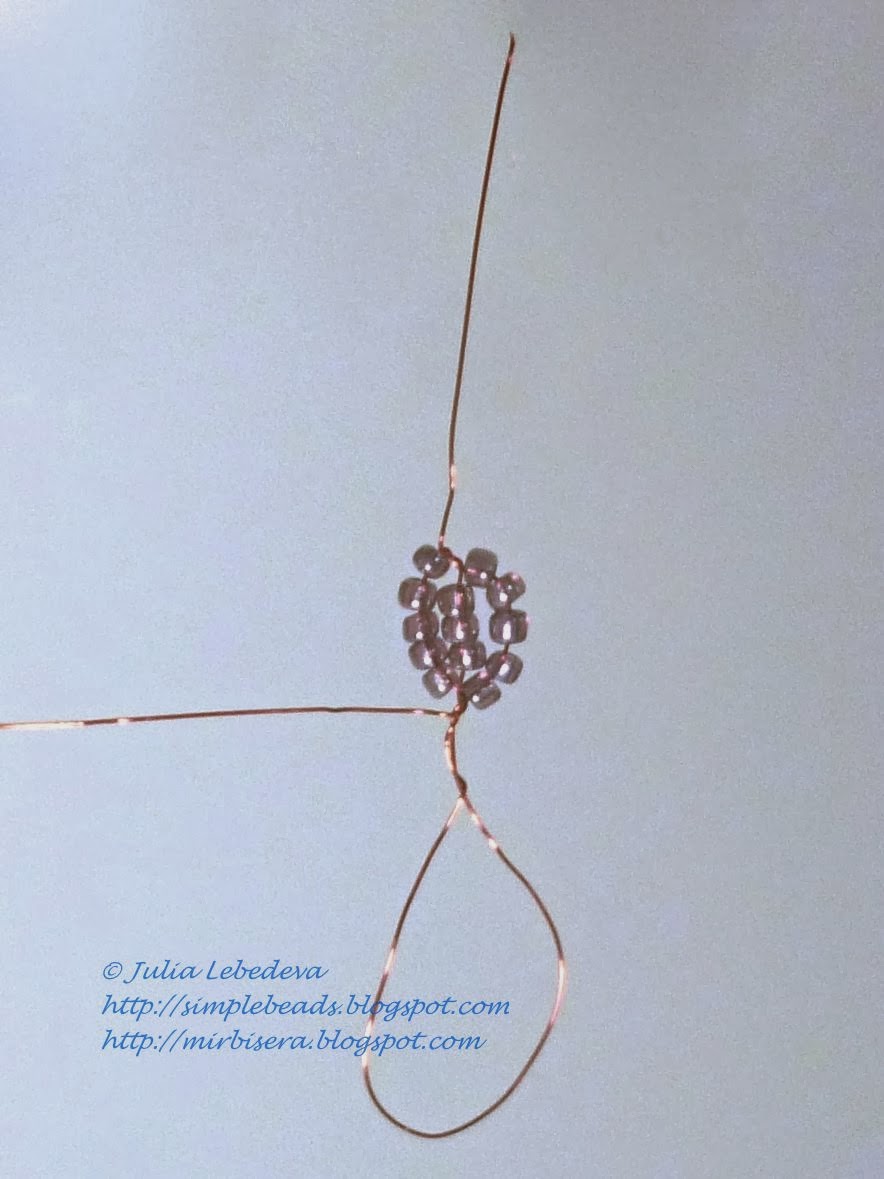
For the each half of the second loop we string 8 yellow-brown seed beads.
Please note: since the beads may vary slightly in size, the actual quantity of beads may differ from the indicated quantity - it's not bad. Take as many beads as you need to make a nice loop that is completely filled with beads.
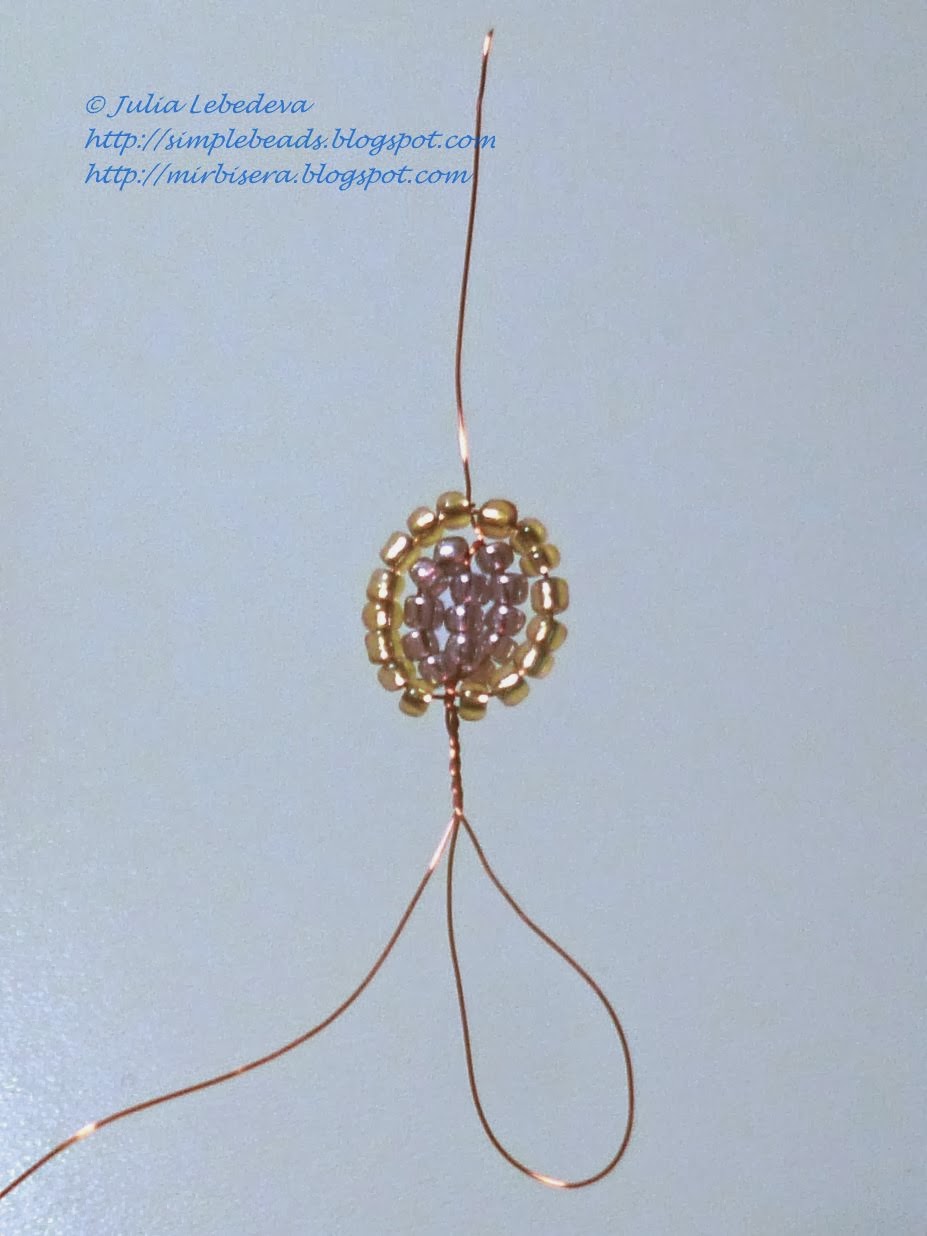
Upon completion of weaving the plate twist the longer end of the wire with the original wire loop. Bend the shorter end of the wire inward the plate and pass it through the beads that lie on the axis.

If its length allows, twist this wire with the longer end of the wire and the original wire loop (if not, just cut it off).

I made 23 such plates for one cone.

Now let's assemble the cone. Take 3 plates,

twist them together,

and then turn these plates into a kind of a bud.

Below this bud we attach further rows of plates. Each row consist of 4 plates which are arranged circumferentially.

The first row of plates we place about 5 mm below the bud, close to the wired axis of the cone. Use an additional piece of wire to attach the plates to the axis.

Once we attached the plates, bend them close to the bud.

Each subsequent row of plates we attach to the cone in a similar manner: each row consist of 4 plates which are arranged circumferentially about 5 mm below the previous row, close to the axis of the cone. Try to place each plate just below and between the two plates of the top row.

Once we attached the next row of plates, bend them close to the cone.

Thus attach all the rows of plates. As we made 23 plates in all, our cone consist of a bud and 5 rows of plates.

After that take a brown thread and wind it around the wire below the cone for a short distance.

The beaded pine cone is finished. You can use it, for example, to decorate a Christmas tree.
I wove two cones, connected them to each other with brown thread

and added the conifer sprigs to them. I made 3 large conifer sprigs using the tutorial of how to make a pine-tree.

Then I connected all the sprigs with brown thread into one large branch,

and fastened the cones to it.

Such a composition may be used by itself,

but I decorated a candle lantern with it. Got a lovely Christmas composition!

PLEASE BE CAREFUL!
The example of a candle lantern decoration in this tutorial is used solely for artistic purposes. Follow the rules of fire safety and NEVER light a candle in the lantern while it has additional decorative elements! It's not safe, because the lantern heats when the candle burns. Pay attention to safety when working with fire!
P.S. Don't want to miss new tutorials? Subscribe for email notifications of site updates!
If you like this tutorial, share it with your friends on social networks using the buttons below the post.
No comments:
Post a Comment