
Today we will make another snowflake of beads and bugles.
We will need:
- size 3 bugle beads (I used bugle beads of light blue color);
- size 10 seed beads (I used seed beads of light green color);
- larger size seed beads (I used seed beads #8 of light blue color);
- wire 0.3 mm thick.
First, we should make the middle part of the snowflake.
Take a wire of 160 cm in length and string onto it one large seed bead and four bugle beads. Place the set on the wire so that the wire’s end from the side of bugles should be about 10-15 cm in length.

Take the shorter end of the wire and pass it through the seed bead from its reverse side.

Tighten the wire. The length of the shorter end of the wire should remain of about 10 cm. We’ve got a loop of bugles with a seed bead at its base.

Make further weaving using only the longer end of the wire. We will not need the shorter end of the wire any more; we will fix and cut it at the end of weaving.
Next, string one large seed bead and three bugle beads onto the wire.

Pass the wire through the closest lower bugle of the previous loop in direction from top to bottom (i.e., to the base of the loop) and further through the seed bead of the current set.

Tighten the wire. We’ve got the second loop of bugles next to the first one.

Then make three more such loops of bugles next to the first two loops. I remind that for the each loop you should string one large seed bead and three bugle beads.
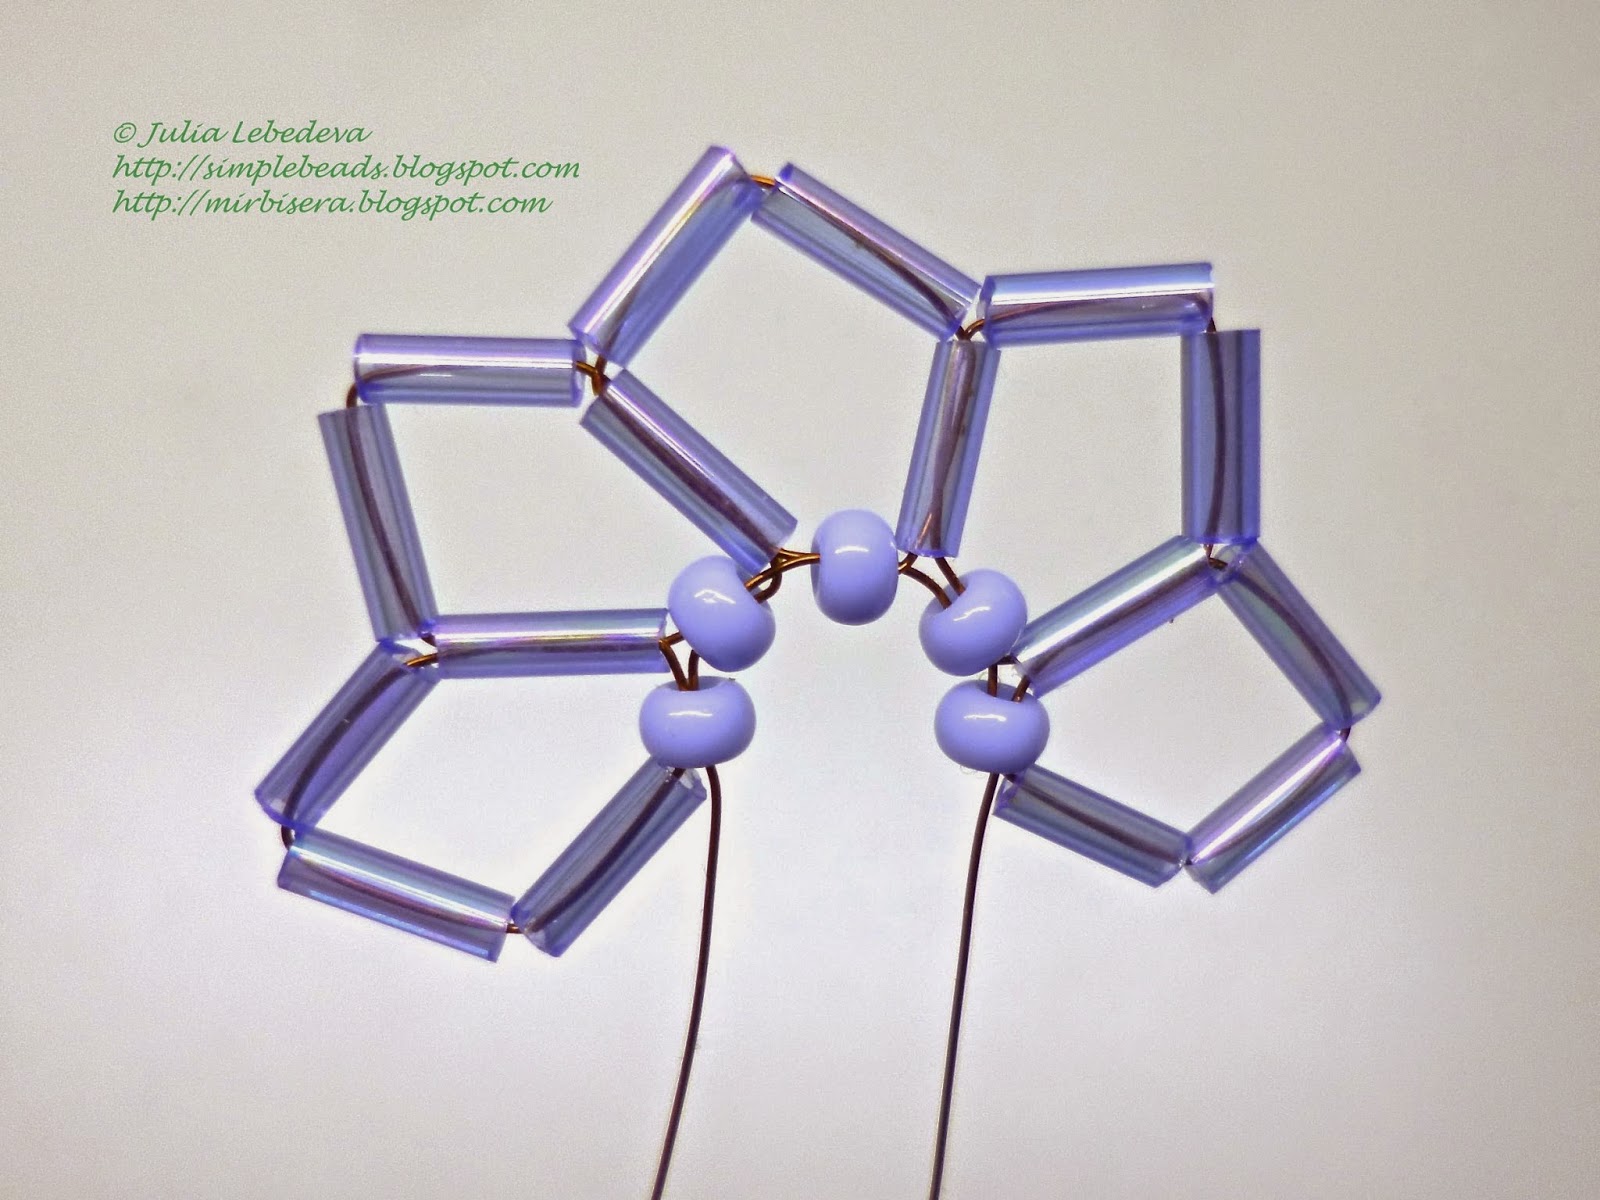
Connect all the loops into a circle. To do that, first string onto the wire one large seed bead

and pass the wire through the closest lower bugle of the very first loop in direction from the base of the loop outwards.

Then string onto the wire two bugle beads
and pass the wire through the closest lower bugle of the last loop in direction to the base of the loop and then immediately - through two seed beads: the last seed bead and the seed bead of the very first loop.

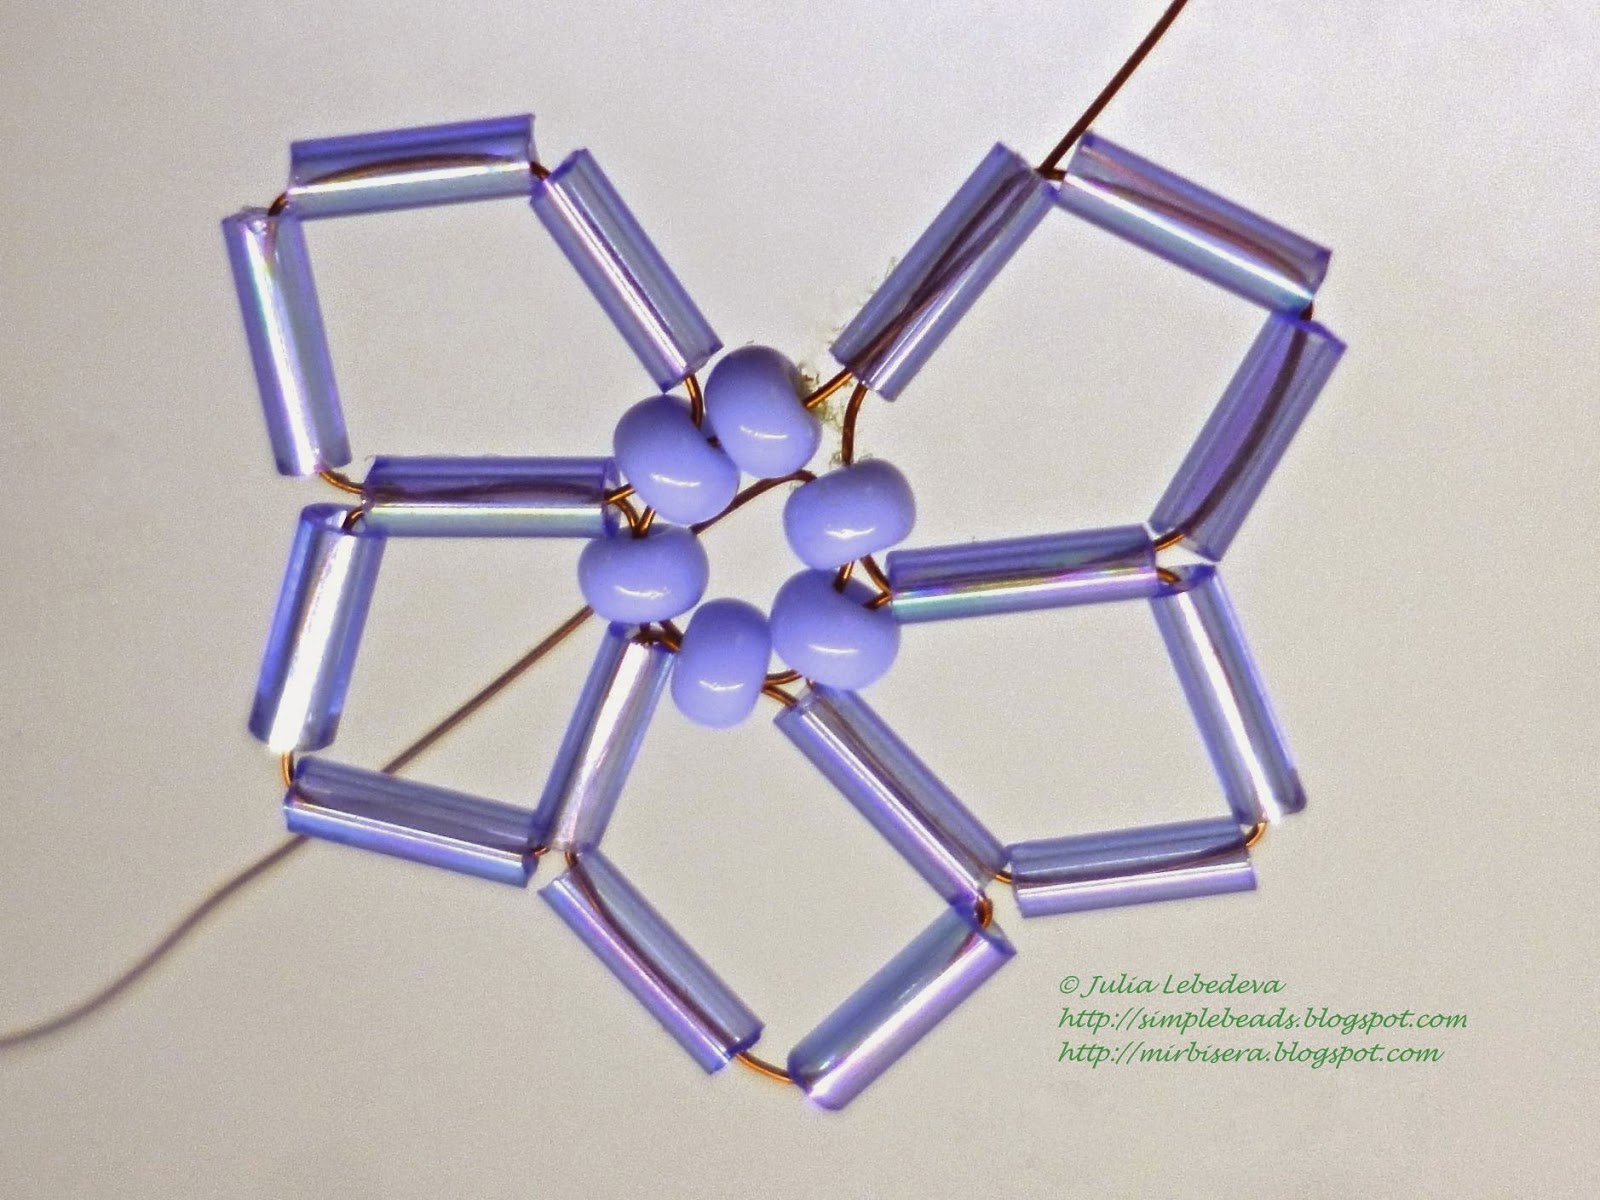
Tighten the wire. We’ve got the middle part of the snowflake, consisting of six loops in a circle.

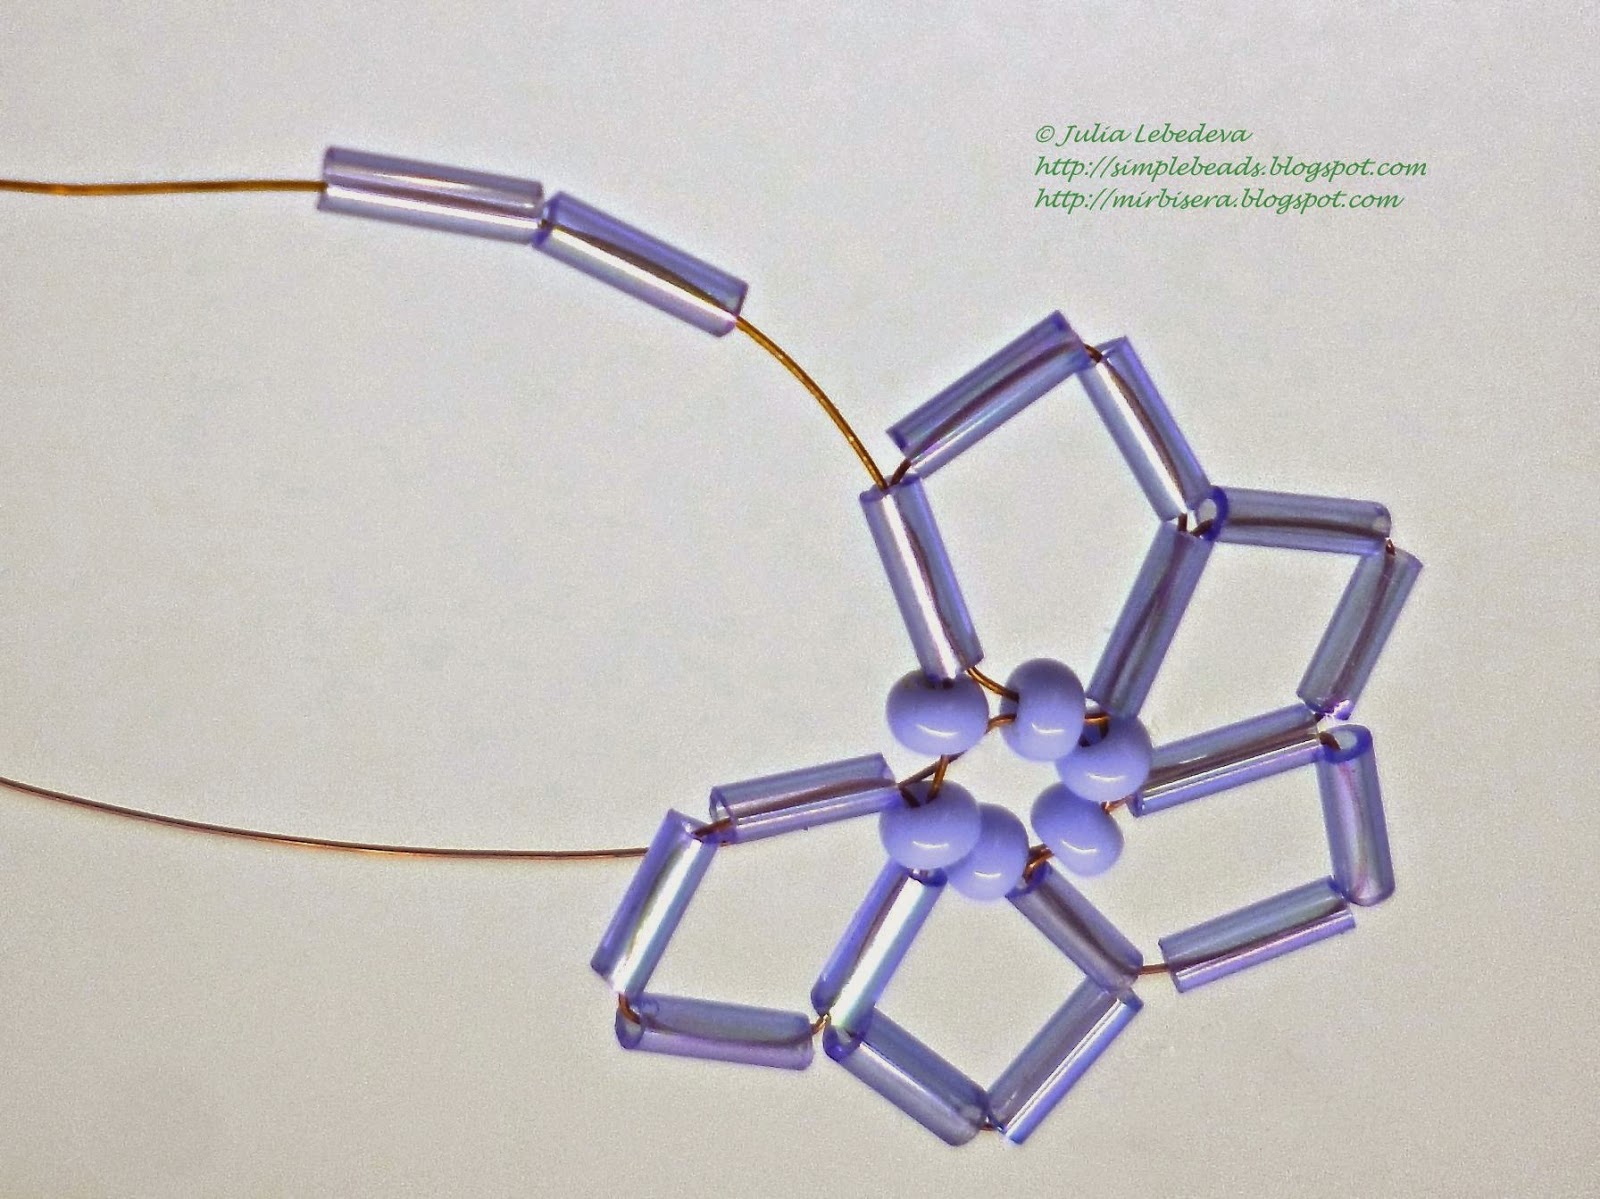
Next, before we start making snowflake’s branches, pass the wire through the closest bugle to the outer boundary of the middle part of the snowflake.


Next, make the first branch. Divide the process into 3 steps.
Step 1. String onto the wire two bugle beads and one small seed bead.

Hold the seed bead and pass the wire backwards through the closest bugle.

Move the set close to the product and tighten the wire.

Step 2. String onto the wire one bugle bead and one small seed bead.

Again, hold the seed bead and pass the wire backwards through the bugle.

Move the set close to the previous one and tighten the wire. Straighten two bugles with seed beads in opposite directions from the first bugle of this branch.

Step 3. Now we should make the top of this branch of the snowflake and then withdraw the wire to the base of the branch. To do that string onto the wire one bugle bead and one small seed bead,

then hold the seed bead and pass the wire backwards through the bugle of the current set and further through the very first bugle of this branch.

Gently pull the wire - the first snowflake’s branch is finished.

Before we continue weaving, pass the wire through the closest bugle at the outer boundary of the middle part of the snowflake.


Then make the second branch of the snowflake. This branch is similar to the first one but is larger in size. Start weaving and make the same first two steps as with the previous branch. We’ve got the first tier of the current branch.

Next, repeat the same two steps to make the second tier of the current branch.

Now we should make the top of this branch and then withdraw the wire to its base. To do that, use the similar technique as in the 3rd step of weaving the previous branch. String onto the wire one bugle bead and one small seed bead,

then hold the seed bead and pass the wire backwards through the bugle of the current set and further through two bugle beads that make up the axis of this branch.

Gently pull the wire - the second branch of the snowflake is finished.

Again, before we continue weaving, pass the wire through the next bugle at the outer boundary of the middle part of the snowflake.


Then make all the other branches of the snowflake, alternating them in size. First make a small branch, then - a large one, next small again, then large again and further on around all the perimeter of the middle part of the snowflake. So there should be six small and six large branches in the snowflake at all.

After that fix and cut off the excess ends of the wire.

Straighten the branches - the snowflake is finished!

By making different kinds of snowflakes and also by using different colors of beads and bugles, you can create a truly fabulous beaded blizzard!
P.S. If you like this tutorial, share it with your friends on social networks using the buttons below the post.
Don't want to miss new tutorials? Subscribe for email notifications of site updates or follow us on Twitter!
I was so happy to find this pattern. I have some beautiful bugle beads that I've been wanting to use, but I have nothing else in my stash that coordinates with the unusual color. This snowflake pattern is perfect, and I can use them as ornaments on a very small tree that I have. Thank you again.
ReplyDeleteto be honest, i was worried that i might not be able to do this.. my hands aren't that great.. but i had so much fun! thank you for sharing!!
ReplyDeleteThis snowflake turned out beautifully, except that I cannot get it to lay flat. I can sort of shape the branches into place, but am thinking that the pressure of a heavy book for awhile might help. Is there something more that will help? Any tips? Thank you.
ReplyDeleteWhat kind of wire did you use? If the wire is soft (e.g. copper wire) there should be no issues like that.
ReplyDeleteI used Bead Buddy - nylon coated stainless steel (.012" .3mm) 7 strand. The center portion does lay flat, the branches won't. I'll try a second one and perhaps my tension will be better. Thank you for answering
ReplyDeleteHi Marge, I think stainless steel wire isn’t the best choice for making this snowflake. The wire should be soft, so I recommend you to take a copper or brass wire.
DeleteThank you. The nylon coated steel was very flexible, did not break and was nice to work with except for the also 'flexible' result. I have since tried copper wire and the snowflake does look as it should.
Delete0.3 mm is approximately equal to 29 gauge.
ReplyDeleteThanks. this was what I was looking for, a way to do something with these bugle beads.
ReplyDeleteHi Jessica,
ReplyDeleteI think so. The wire should be soft; the best wire for this item is a copper/brass one.
Thanks so much for posting this wonderful pattern! They will make lovely Christmas presents! At the top of the last large banch, I have left a big wire loop so it can be easily hung on a Christmas tree.
ReplyDelete