
For making a beaded autumn birch we need:
- size 11 seed beads of a golden color;
- wire 0.2 mm thick for basic weaving;
- aluminum or copper wire 1.5-2 mm thick for the base of big branches and a trunk of the tree;
- white thread for winding the branches and trunk;
- black felt pen for painting the birchbark;
- a pot into which we’ll place the tree.
At first we will make twigs with leaves. For the each twig take a wire of 50 cm in length and string 6 seed beads onto it. Place the beads on the middle of the wire.

Fold the beads into a loop

and twist the wire under the loop for 6-7 turns. This beaded loop will be the birch’s leaf.

Then string 6 seed beads onto either end of the wire and place the beads about 1.5 cm from the first twisting.

Make a loop of beads and twist the wire just as we did before.

Make the same beaded loop at the other end of the wire.
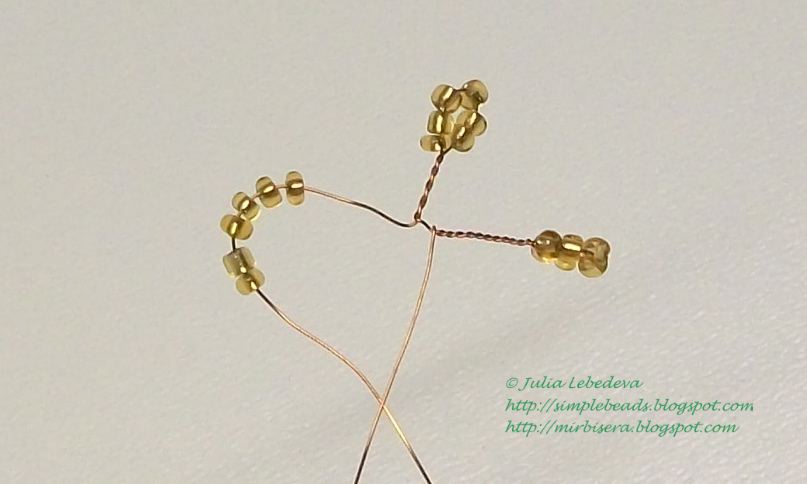

After that twist together both ends of the wire for 6-7 turns.

Continue making consecutive series of beaded loops. At first make a loop at one end of the wire,

then make the same on the other end of the wire,

and after that twist together both ends of the wire for 6-7 turns.

We should make 4 more rows of loops to get the twig with 13 leaves.

Press the leaves slightly upward to the central axis of the twig, giving the twig a form of a spikelet. So the leaves lie closer to each other.

To make a tree I made 60 such twigs. The more twigs you do, the larger and the lusher your birch could be.

Start assembling the tree. First of all we should twist all the twigs in pairs. So we get 30 larger twigs.

Then take a thick wire for the main branch of the tree (I took an aluminum wire of 2 mm in diameter and 30 cm in length) and using an additional piece of thin wire attach one double twig to its tip.

Take a white thread and wind it round the wire under the twig for the length of 2-3 cm.
Take 2 more twigs and also with an additional piece of thin wire attach them to the thick wire one near the other.

Now wind the wire under the twigs with a white thread for some distance.

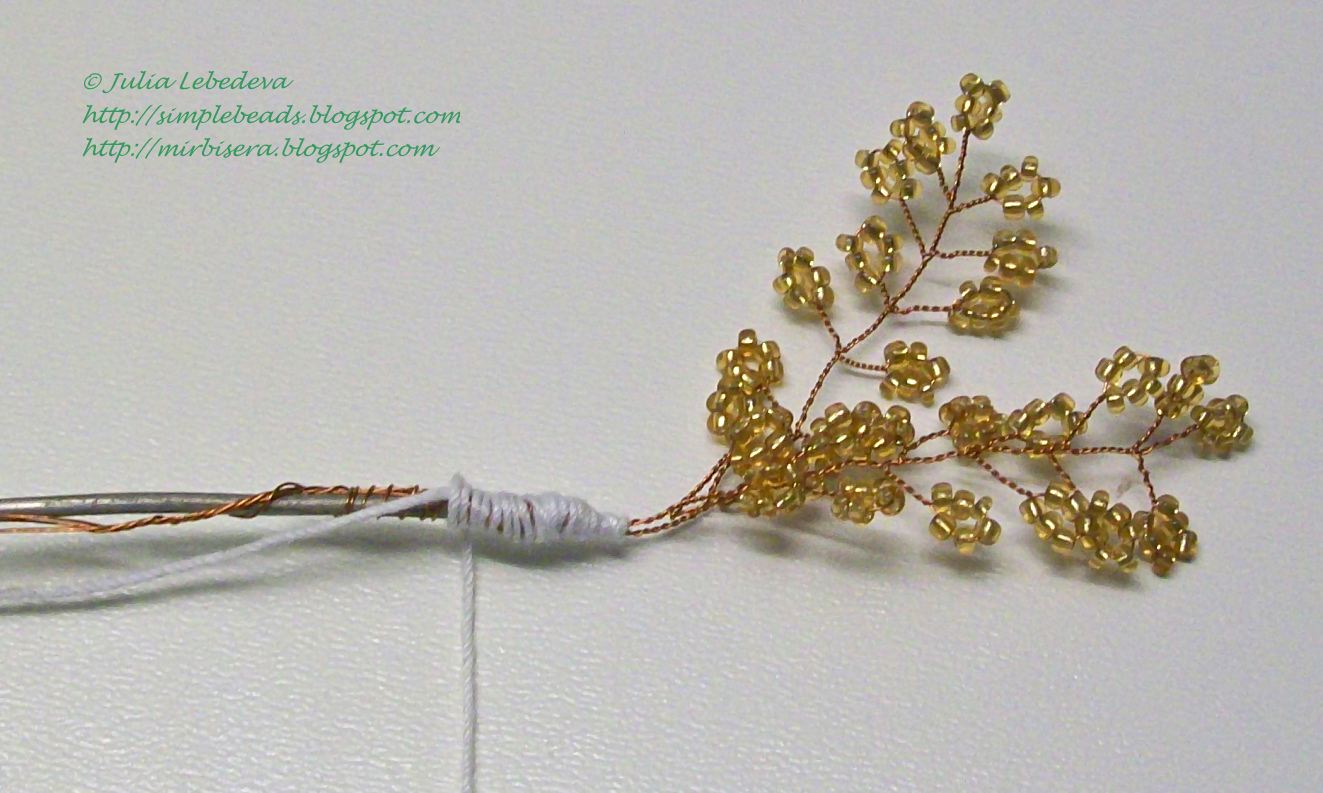
Then attach 9 more twigs to the thick wire placing them circumferentially at some distance one after another,

at the same time winding the wire with a white thread.

So we’ve got the main branch of the birch. To make it we used 12 double twigs.

Similarly, I made two more big branches, taking a thick aluminum wire of 20 cm in length and attaching 9 double twigs to the each of them.

Now attach these big branches to the main branch of the tree. At first attach one big branch,

then wind the trunk with a white thread in the place where the branches are connected.

After that take another big branch (the white winding on this branch should be a little longer)

and attach it to the trunk.

Wind a white thread around the trunk at its full length.

Take a black felt pen and randomly paint typical horizontal lines at the birchbark.

Next I took a pot, filled it with plasticine, placed the tree into the pot and scattered seed beads on top of the plasticine.
Finally straighten the twigs - the birch is finished!

P.S. Don't want to miss new tutorials? Subscribe for email notifications of site updates!
If you like this tutorial, share it with your friends on social networks using the buttons below the post.
Love this!!! I am going to try it!
ReplyDeletelove, love your trees. Thank you for giving such detail on how to make. I'm going to try it! Jeanie from USA
ReplyDeleteThank you for appreciation of my work. I will be very grateful if you share this tutorial with your friends on social networks.
DeleteAmazing and beautiful. I really love your work and your blog. Thank you!
ReplyDeleteA girl from Hungary.
What kind of wire do you use? my wire is okay, but it doesn't twist together as nicely and it frays a lot.
ReplyDeleteThe wire should be soft so the best choice is copper wire. I can also recommend using brass wire as it mostly consists of copper.
Delete